Removing
Remove the caps from the rear wheels, pull out the cotter pins from the axle shafts on the left and right and loosen the castellated nuts. Raise the rear of the vehicle and place it on stands.
Remove engine (see section "Removal and installation of the engine").

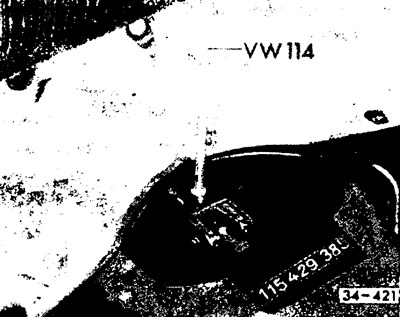
Raise the rear seat, remove the cover on the frame channel, cut the wire on the square bolts and unscrew them. By shifting the gearshift lever away from the inner lever, remove the moveable stem connector assembly. Loosen castle nuts and remove brake drums. If necessary, install the rear wheel brakes and remove the brake drums using a puller.
Disconnect the brake pipes from the wheel brake cylinders on each side and remove the clamps from the brake hoses on the axle shaft covers.
Disconnect the parking brake cable from the brake bracket.

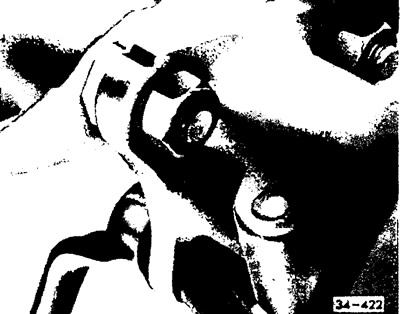
Using a cutter, mark the position of the elastic lever relative to the axle housing flange.
Loosen the clutch adjustment nut and remove the clutch cable guide from the gearbox.
Remove balance bar (if there).
Disconnect wires from starter.
Disconnect connector (if there) reversing lights.
Loosen the hex nuts on the axle housing support flange and on the shock absorber.
Remove the front transmission mount (box and rubber-metal support).

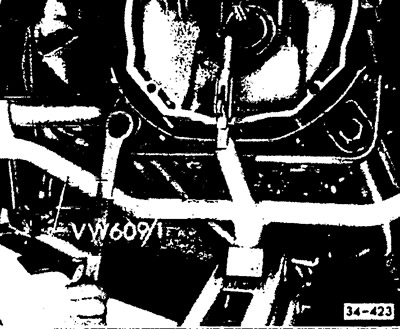
Loosen the screws on the gearbox bracket. Install a jack under the box, pull it together with an assistant a little forward, release it on the jack and remove it from under the car.
Attention! Secure the half shafts so that they do not fall.
Installation
Put the gearbox on a jack, tighten and install in place.
Attach the rear gearbox mount. Tighten both bolts on the box bracket to 230 Nm (23 kgcm).
Attention! If new axle shafts are installed, the rubber-to-metal support on the rear gearbox bracket may be deformed. Therefore, first, the nuts of the rubber-metal support on the gearbox bracket are loosened, then the gearbox bracket is fastened with two large bolts, and the nuts of the rubber-metal support are tightened again only when the front suspension of the box is fixed.
Attach the front gearbox mount. To do this, tighten the hexagon nuts on the front rubber bearing.
Slide the movable stem connection assembly onto the movable stem, tighten the square nut and secure it with wire. Since April 1975, a disposable self-locking bolt has been used.
Attention! The square bolt must be carefully inserted into the recess, otherwise it may be difficult to shift gears.
Install the shroud on the moveable bar connector, install the rear seat.
Install shock absorber and balancer push rod (if it exists).
Connect wires to starter. Connect, if equipped, the reversing light connector.
Install the clutch cable guide to the transmission, tighten the adjusting nut.
Install the parking brake cable into the brake bracket and secure the cable (see chapter "Brake system").
Connect the brake pipes to the wheel brake cylinders, securing the pipe clamps to the axle shaft covers.
Install wheels with brake drums, tighten castle nuts.
Adjust and bleed brakes (see section "Bleeding the brake system").
Install the engine.
Lower vehicle and tighten castle nuts to 350 Nm (35.0 kgcm).
Attention! Do not tighten nuts when vehicle is on stands. Tighten the nuts further if necessary (not weaken them!) until the pin can be inserted.

Visitor comments