Removing
1a. Remove soundproof cover.
For engines with the letter designation BCA
2a. Remove the exhaust pipe from the exhaust system.
For engine codes BUD
26. To remove a reception pipe of final system.
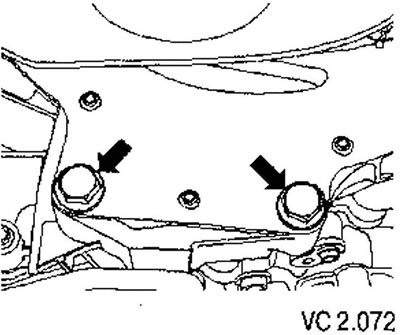
36. Unscrew the screws (arrows) and remove the gearbox housing cover.
Continued job description for all vehicles
4. Disconnect the oil level and temperature sensor connector (G266).
5. Drain engine oil.
6. Unscrew the screws securing the oil pan.
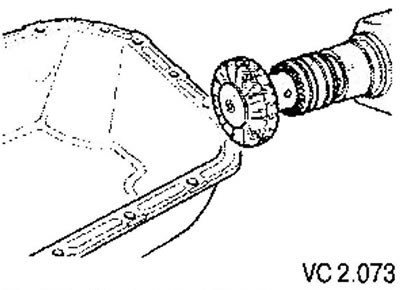
7. Remove the oil pan. If necessary, use a rubber mallet.

8. Use a flat scraper to remove the remaining sealant from the cylinder block.
9. Remove sealant residue from the oil pan using a rotating brush, such as a hand drill with a plastic brush (put on protective goggles).

10. Clean and degrease the landing surfaces. They should not leave traces of oil.
Installation
Attention!
- Pay attention to the expiration date of the sealant.
- The oil pan must be installed within 5 minutes of applying the silicone sealant.
- The oil sump can be installed more easily and more precisely if M6 grub screws are screwed in as guides in two places on the cylinder block flange.
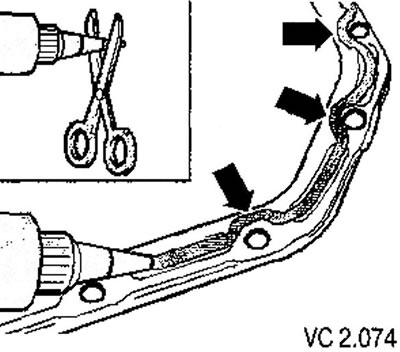
1. Cut off the tip of the tube at the front mark (0 holes; about 3 mm).
2. Apply sealant to clean oil pan seating surfaces as shown. Layer thickness (roller) sealant should be: 2-3 mm. In the area of the threaded holes, the sealant bead must bypass the holes from the inside (arrows).

Attention! Layer (roller) the sealant must not be thicker than the specified dimensions, otherwise excess sealant may enter the oil pan and clog the strainer in the oil receiver.
3. Install the oil pan immediately and lightly tighten all fixing screws.
4. Tighten the oil pan screws to 13 Nm.
For engine codes BUD
5. Install the gearbox housing cover and tighten the fastening screws (arrow) torque 40 Nm.
Attention! After installing the oil pan, wait approximately 30 minutes for the sealant to cure. Only after that you can fill in engine oil.

Visitor comments