Attention!
- When carrying out work, the battery ground wire will be disconnected. Therefore, you must first check whether a radio with coding is installed in the car. If so, the code must be requested before disconnecting the battery terminals.
- The engine is removed together with the gearbox down.
- After installing the engine, it is necessary to reinstall all cable ties that are removed or cut off during dismantling.
Carefully! When performing installation work, especially in the engine compartment due to its dense layout, the following rules must be observed:
- highways of all kinds (fuel, hydraulic, fuel vapor recovery systems, coolant, coolant, brake fluid, vacuum) and wires should be arranged in the original order provided by the manufacturer (using appropriate fasteners);.
- To avoid damage to hoses, pipes or wires, sufficient space must be provided when working on all moving or hot parts.
Work order
1. Disconnect the ground wire from the battery.
2. Remove the engine cover.
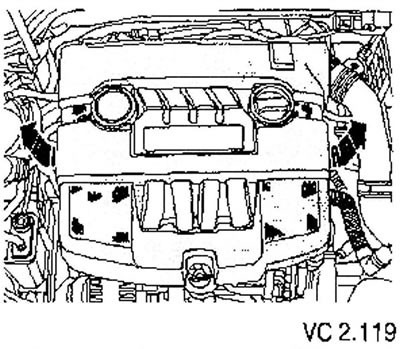
3. Remove the bolt (3) and remove the air filter housing along with the hoses suitable for it.
4. Remove the battery together with the mounting platform.
5. Remove the plenum box cover.
6. Disconnect the engine control unit connector.
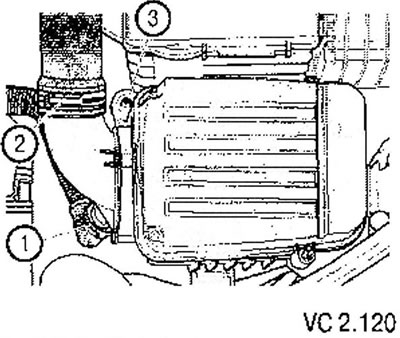
7. Unlock the lock of the wiring harness of the engine control unit (arrow) and remove the harness up.
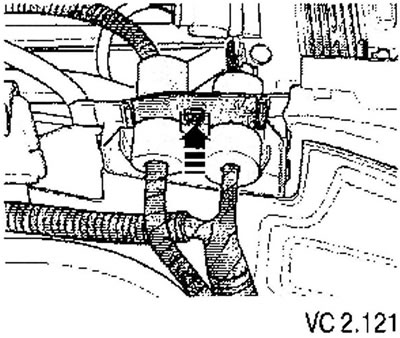
8. Unlock the lock of the wiring harness on the side member (arrows).
9. Disconnect the harness connectors of the engine control unit on the body and place the harness on the engine.
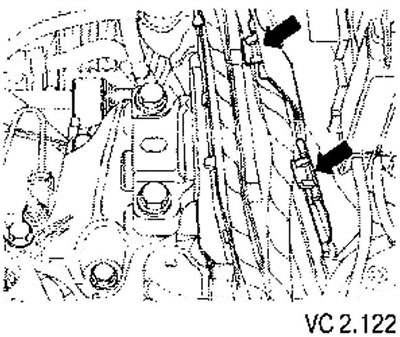
Attention! The pressure fuel line is under pressure! Wear safety goggles and gloves to avoid injury and skin contact with fuel. Before disconnecting the elements of the system, the connection point must be wrapped with rags. Then, carefully loosen the connection to release the pressure.
10. Disconnect the ventilation hose (1) and pressure fuel line (2). To disconnect, press the fasteners of the quick-release connections of the fuel lines.
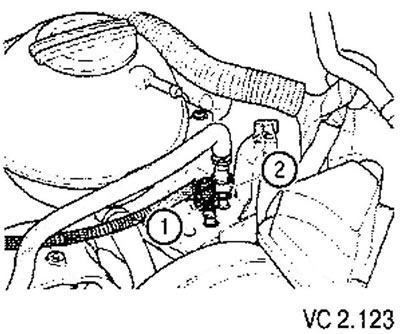
11. Remove the soundproof casing.
12. Set the front carrier panel to the service position.
13. Drain the coolant.
14. Disconnect from the engine and gearbox all other electrical wires that must be disconnected and put them aside.
15. To disconnect from the engine all connecting pipelines, vacuum hoses and hoses of system of cooling.
Notes on removing engines from vehicles equipped with air conditioning
Carefully! To prevent damage to the condenser, piping and refrigerant hoses, do not kink, kink or deform piping or hoses containing refrigerant.
To remove or install the engine without depressurizing the refrigerant circuit, you must perform the following steps.
- Remove poly V-belt.
- Detach air conditioner compressor mounting bracket.
- Mount the air conditioner compressor on the body in such a way that the hoses and pipes suitable for it are not stretched, kinked, etc.
Continued job description for all vehicles
16. Remove the gearshift mechanism from the gearbox.
17. Disconnect the tube (IN) from the clutch slave cylinder to the quick coupling (pull bracket A).
18. Pull out the handset (IN) from the holder (WITH).
Attention! After removing the clutch slave cylinder, do not press the clutch pedal.
19. Remove the exhaust pipe of the muffler with the catalyst.
20. Remove the lower support of the power unit.
21. Remove the right drive shaft and disconnect the left drive shaft from the gearbox.

22. Remove the screw, without a head (arrow) from the cylinder block.
23. Provide with the right device (jack, screw stop, etc.) reliable support of the engine while it is disconnected from the supports.
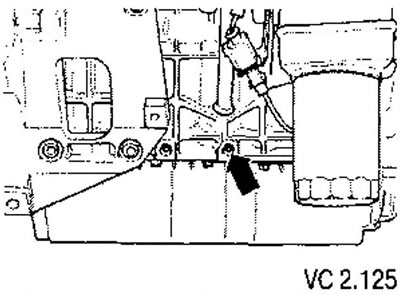
24. Slightly raise the power unit with a jack.
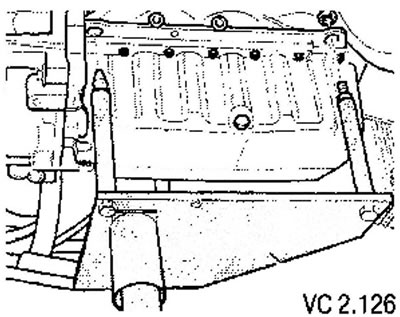
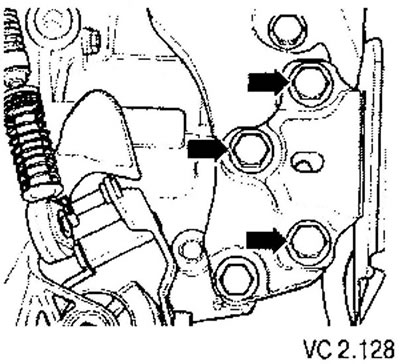
25. Remove the screws connecting the power unit support on the engine side to the engine bracket (arrows).
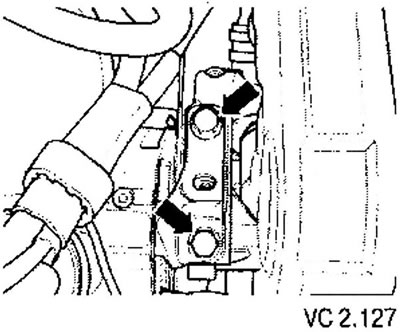
26. Unscrew (above) bolts connecting the power unit support on the gearbox side with the gearbox bracket (arrows).
27. Carefully lower the power unit.

Visitor comments