When assembling the piston and connecting rod, observe the following recommendations:

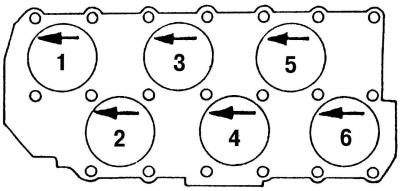
Pic. 54. Marking the bottom of the pistons before removing them
- arrow on the bottom of the piston (either drawn or knocked out if the piston is new) must point towards the front of the engine (pic. 54);

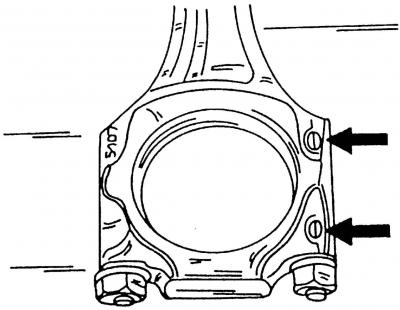
Pic. 56. Assembling the connecting rod and connecting rod bearing cap. The arrows show the protrusions
- cast lugs on the connecting rod and connecting rod cap (pic. 56) must point in the direction of the engine crankshaft sprocket;

Pic. 55. Marking of the connecting rod and connecting rod bearing cap
- cylinder number marking (pic. 55) must be the same for the connecting rod and connecting rod cap.
Assemble the pistons and connecting rods in the following order:
- heat the piston to 60°C (to do this, put them in hot water) and pick up the mandrel that goes inside the piston pin;
- heat the connecting rod;
- by hand, using a mandrel, insert the piston pin into the heated piston and connecting rod;

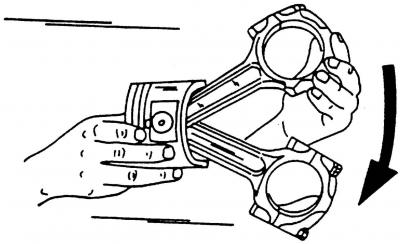
Pic. 65. Checking the ease of movement of the connecting rod
- check that the connecting rod moves freely back and forth after assembly (pic. 65);
- lubricate the grooves on the piston and piston rings with engine oil and use a puller to (pic. 65) install the piston rings in the grooves. If the ring is marked «Oben» or «Thor», then install the ring with the mark up (to the bottom of the piston).

Visitor comments